
Infill Extensions
Filling the gap an earlier extension left behind, usually the cheapest square metres in the whole house.
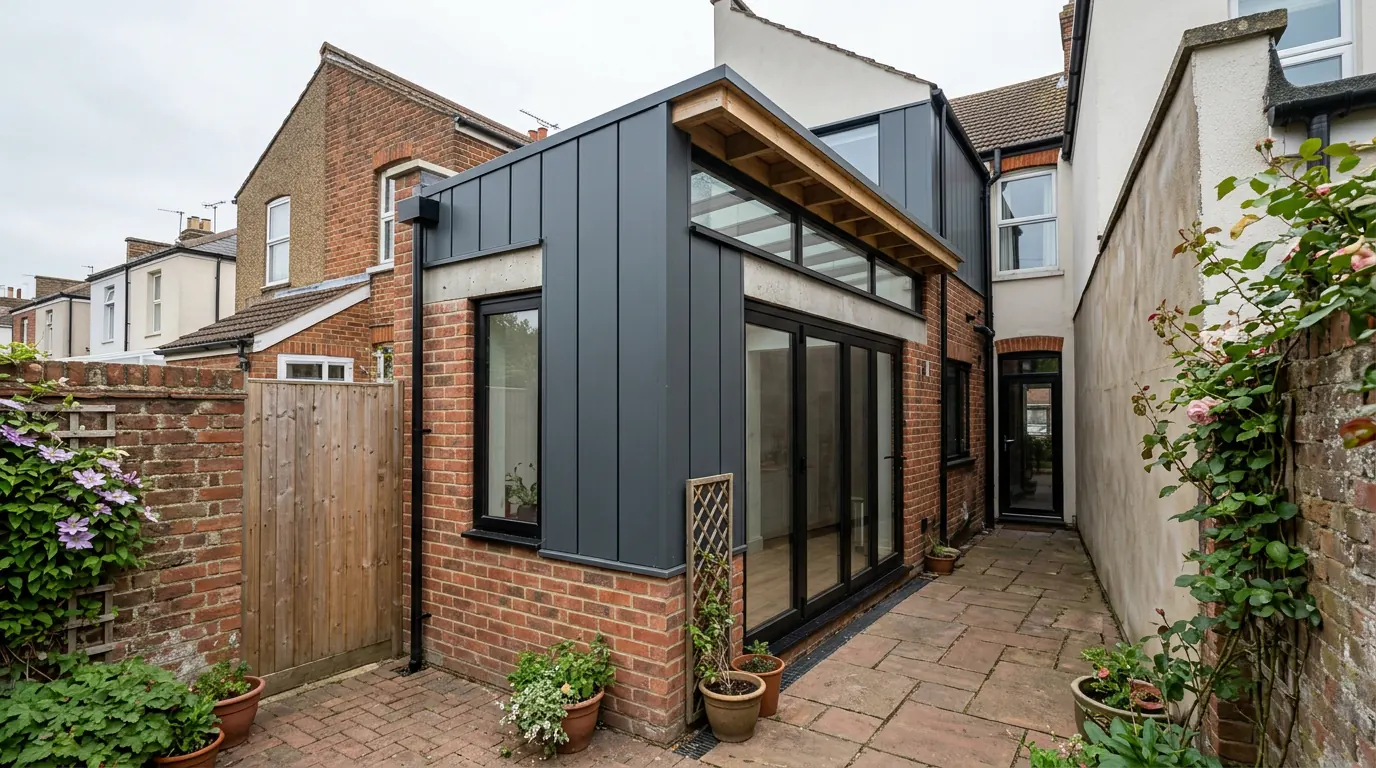 Fig. 01
An infill is the gap the house already has. The slot beside the back wing, the notch an earlier extension left in the corner, the strip between that extension and the boundary. It is usually the smallest job we are asked to price and the one that changes the ground floor most. It also has more junction per square metre than anything else we build, and junction is where the difficulty lives.
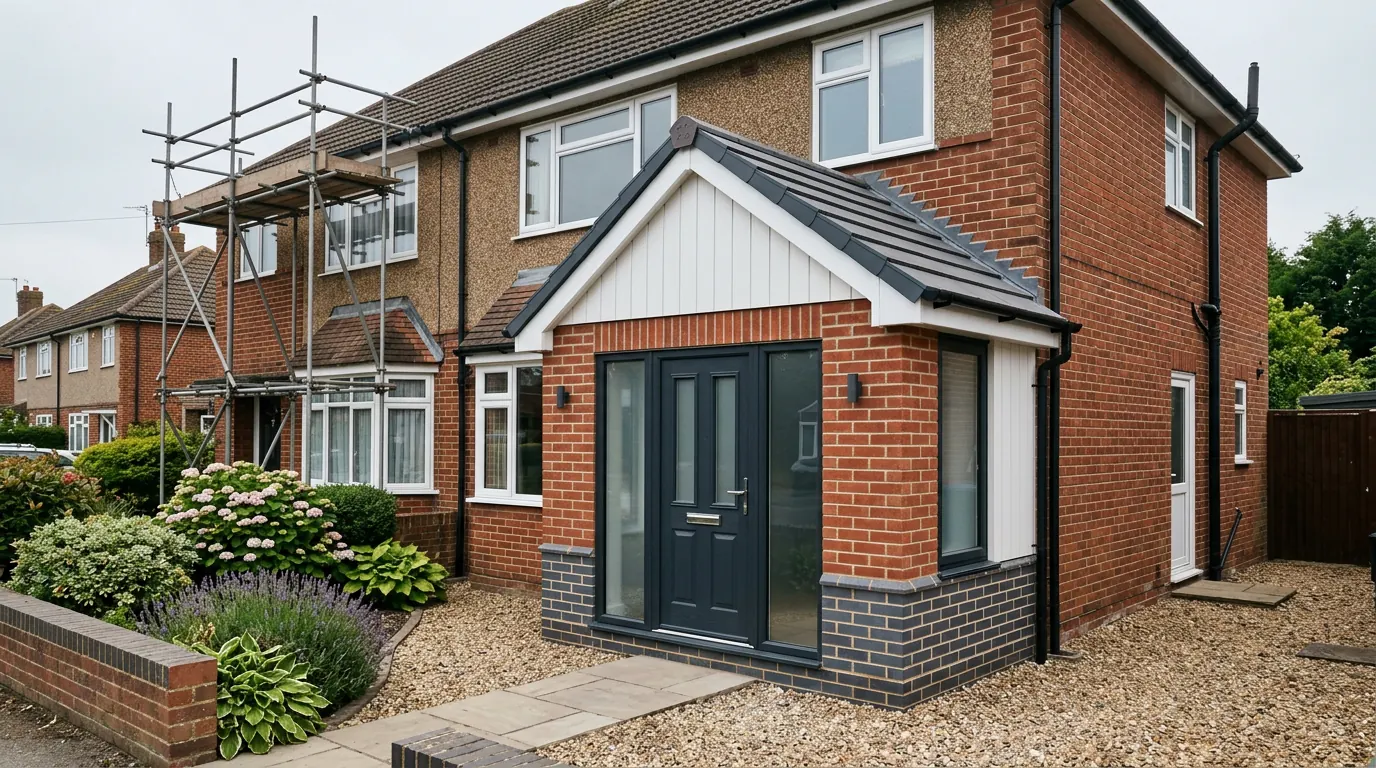
What an infill extension actually is
Building into a space the house already encloses on two or three sides, instead of out into the garden.
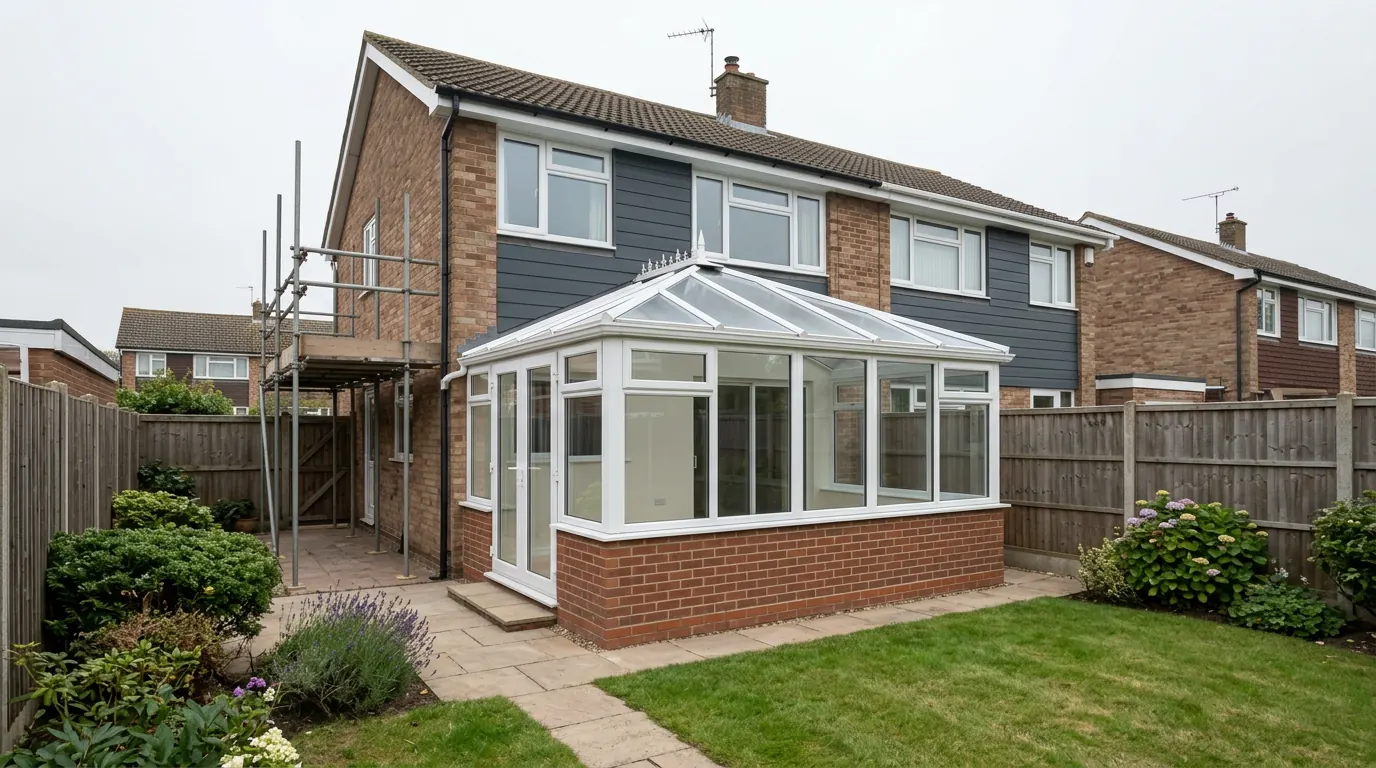
Look at the back of most older Colchester houses from above and the footprint is not a rectangle. There is a rear wing or outrigger sticking out, and beside it a gap open to the sky but walled on two sides by your own house. On newer houses the same shape is man made: somebody extended the back twenty years ago, stopped short of the corner, and left a courtyard nobody uses.
The word describes the shape of the site, not a planning category, and there is no relaxation because it is small. What is different is the ratio of old wall to new floor. On a twenty square metre rear extension you might build fifteen metres of new external wall and connect back to the house across five. On a nine square metre infill you might build four metres of new wall and have twelve metres of existing masonry to seal against, tie into and roof over.
That is the whole page in one sentence. An infill is not a small extension. It is a large amount of junction with a small amount of floor attached, and every junction is between something new and something old that was never designed to receive it.
The gaps we are usually called to
Three shapes come up again and again, and each fails in its own way.
The first is the gap beside a rear outrigger. Victorian and Edwardian terraces and older semis have a narrow back wing holding the original scullery, with an alley beside it running to the boundary. Filling that alley turns a long thin kitchen into a room the full width of the plot. This is the classic side return, and the most predictable of the three.
The second is the notch in an L-shaped plan. Somebody extended the back in the 1980s or 1990s but only across part of the width, usually to keep a window or dodge a drain. What is left is an L with an outdoor corner enclosed by two structures of different ages. This one is hardest, because you are marrying yourself to two buildings at once.
The third is the strip between a previous extension and the boundary, or between that extension and a detached garage. Often a metre and a half wide, used for bins, and worth more inside the house than out.
| The gap | Typical floor area | What usually decides it |
|---|---|---|
| Beside a rear outrigger | 6 to 14 square metres | Boundary ownership, party wall, where the light comes from |
| The notch in an L-shaped plan | 5 to 12 square metres | Two structures of different ages, two roofs in a valley |
| Between an extension and the boundary | 4 to 10 square metres | The drain run, and how much permitted development is left |
Will you need planning permission?
Four questions, an honest answer, and nothing sent anywhere. This runs entirely in your browser.
What are you extending?
Permitted development rights for extensions apply to houses. Flats and maisonettes are a different route entirely.
Is the property listed?
Listed building consent is a separate decision from planning permission, and work without it is a criminal offence rather than a planning irregularity.
Has the house been extended before?
Depth is measured from the ORIGINAL rear wall, so a previous owner's extension has already used part of your allowance. This catches almost everybody.
Is it in a conservation area?
Colchester has a number of them, including the historic core, the Dutch Quarter, part of Lexden and several village centres. The boundaries rarely follow the roads you would expect.
Answer the four questions for an indication
Whatever the answer, Building Regulations approval is always needed. We check the planning history, the designation and the deeds on your address before anyone draws anything, because it decides the design rather than the other way round.
This is an indication based on four questions, not advice on your property. Planning rules change and the position depends on your specific address, its planning history and its designation.

Why infill square metres are usually the cheapest in the house
Cheapest by result, not by rate. Those are different numbers and it is worth knowing which one you are looking at.
Two sides of the room are already built and already paid for. You are not digging foundations along them, laying bricks up them, insulating them or roofing them. Compared with the garden, where every side is new, an infill buys enclosed floor for a fraction of the material.
It also buys the most useful floor. A side return does not add a room at the end of a room, it widens a room you already use, which is why nine square metres of infill often changes daily life more than a twenty five square metre box on the back.
The qualification is that the rate per square metre rises as the area shrinks. Scaffold, skips, the digger and its delivery, the drawings, the calculations and the fees cost much the same whether the floor is six square metres or twenty six, and spread across six they are heavy. Both things are true at once: an infill is the cheapest way to buy the square metres you actually want, and the dearest rate you will be quoted. Judge it on the total, not the rate.
Permitted development, and the wall your depth is measured from
Often permitted, and often by less than people assume, because someone has already spent part of the allowance.
Most single storey rear infills fall under permitted development, meaning permission has already been granted in general terms and no application is needed. The rights carry conditions on depth, height, materials and position relative to the boundary.
Depth is measured from the original rear wall: as built, or as it stood in 1948 for anything older. Not the wall that is there now. On an infill that matters more than on any other job, because the thing which created your gap was usually a previous extension, and that extension has already used part of the depth the rules allow.
The allowance belongs to the house, not to the owner. If somebody added three metres to the back in 1996, those three metres count against you even though you did not build them. An infill beside that extension is measured to the same original wall, which is why a tiny infill can fall outside permitted development while a far bigger extension next door did not. We pull the planning history for your address before anyone draws anything.
Height is capped, and there is a lower cap on eaves height within two metres of a boundary. An infill is almost always within two metres of one, so that lower cap is usually the one doing the work, and it often decides the roof design before anything else does.
These limits change from time to time and how they apply depends on your property. Treat this as an explanation of the system rather than confirmation of what you can build, and note the review date at the foot of this page.
Want this checked on your actual address?
Planning history, designation and deeds. We look at all three before anyone draws anything, and it costs you nothing.

What removes permitted development, and why you still want the certificate
Several things switch the rights off completely, and one of them is not planning law at all.
The rights do not apply to flats and maisonettes, so a house converted into two dwellings has none. They do not apply to listed buildings, where listed building consent is separate and covers character inside as well as out. In a conservation area they are cut back, particularly for side extensions and cladding, and an infill against a boundary can read as a side extension depending where it sits.
An Article 4 direction can remove them for a defined area or a specific type of work, street by street. Plenty of houses have already lost them to a condition on the original planning permission, common on estates built since the 1980s where the council or the developer wanted control over later alterations. That condition sits on the file for your address and nowhere else.
Covenants and estate conditions on the title are separate again. They are private law: the council will not check them and cannot enforce them. A restrictive covenant can still stop a job planning would have allowed, and your conveyancer is the person who knows.
Where the work is genuinely permitted development, apply for a Lawful Development Certificate anyway. It costs a fraction of a planning fee, it is decided on facts rather than opinion, and it is the document a buyer’s solicitor asks for. On an infill it earns its money twice, because the depth calculation rests on planning history that will be harder to reconstruct in fifteen years than today.
Tying into two structures that have already moved apart
The structural problem specific to infills, and the one that produces the cracks people ring us about.
A rear extension attaches to one building. An infill in an L-shaped plan attaches to two, and those two are usually of different ages, on different foundations, and have spent decades settling at different rates into the positions they now hold. Your new structure arrives in the middle and has to cope with whatever they do next.
The decision on each face is whether to bond in or to separate. Against masonry of similar age founded at a similar depth, tying in with wall starters or toothing into the brickwork gives a stiff continuous wall and is right. Against something markedly different, a 1900 outrigger on a shallow footing one side and a 1996 extension on deeper strips the other, forcing all three to act as one only means the crack appears wherever the wall is weakest, usually at a window reveal. There the detail is a vertical movement joint with ties that allow movement in one plane, so the joint takes it rather than the brickwork.
The other half is restraint. That outrigger wall was designed as an external wall with a return at the corner. Opening the corner up to connect the new space can remove the thing holding the wall upright. Lateral restraint straps back into floor and roof are cheap, invisible and not optional.
The same wall, before and after
Drag to reveal. A real job in the Colchester area, photographed as it went. No staging and no borrowed images.
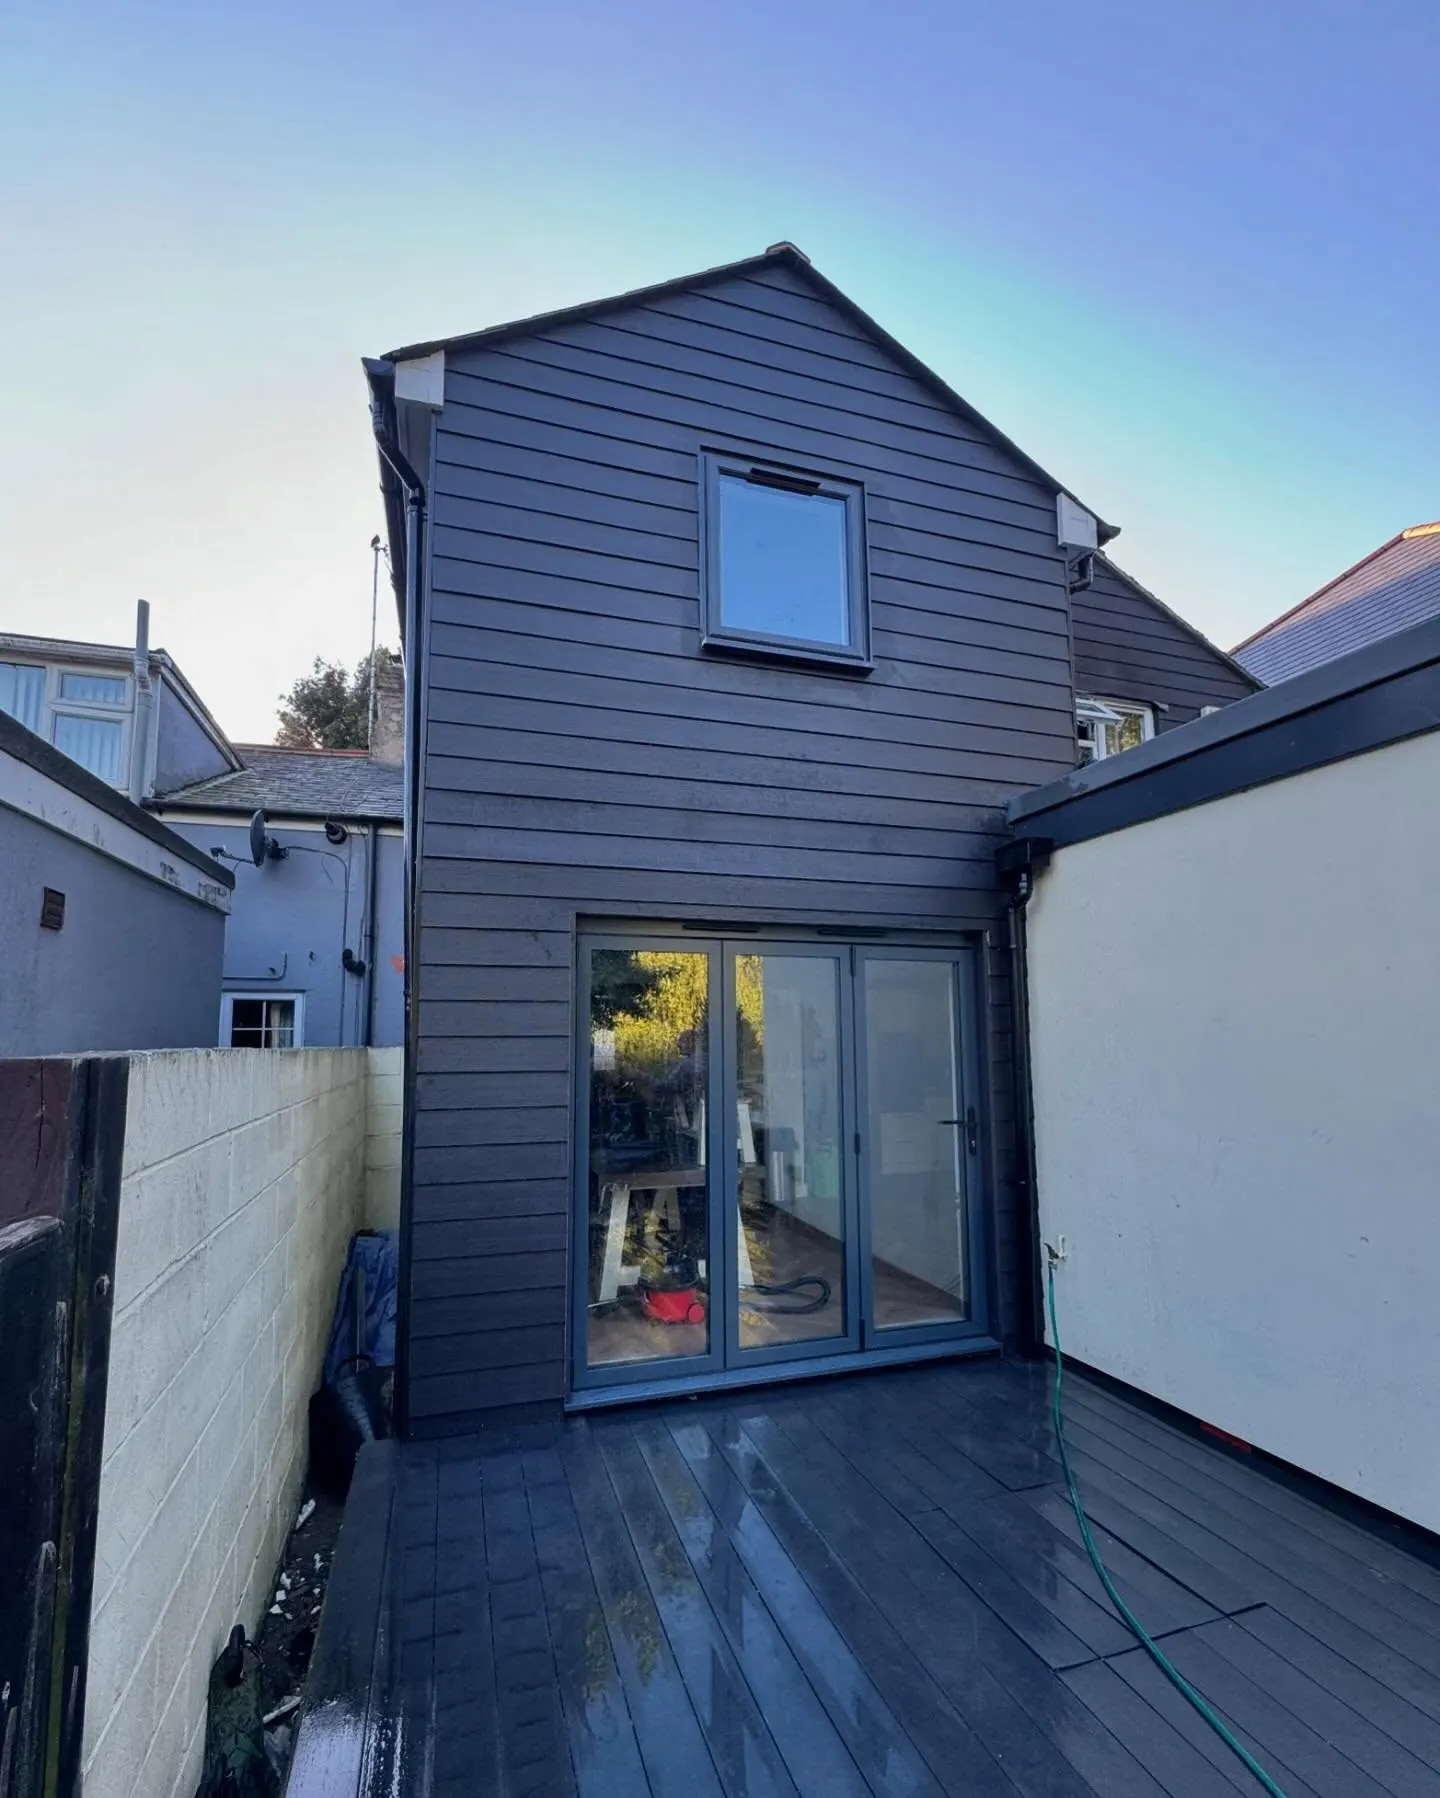
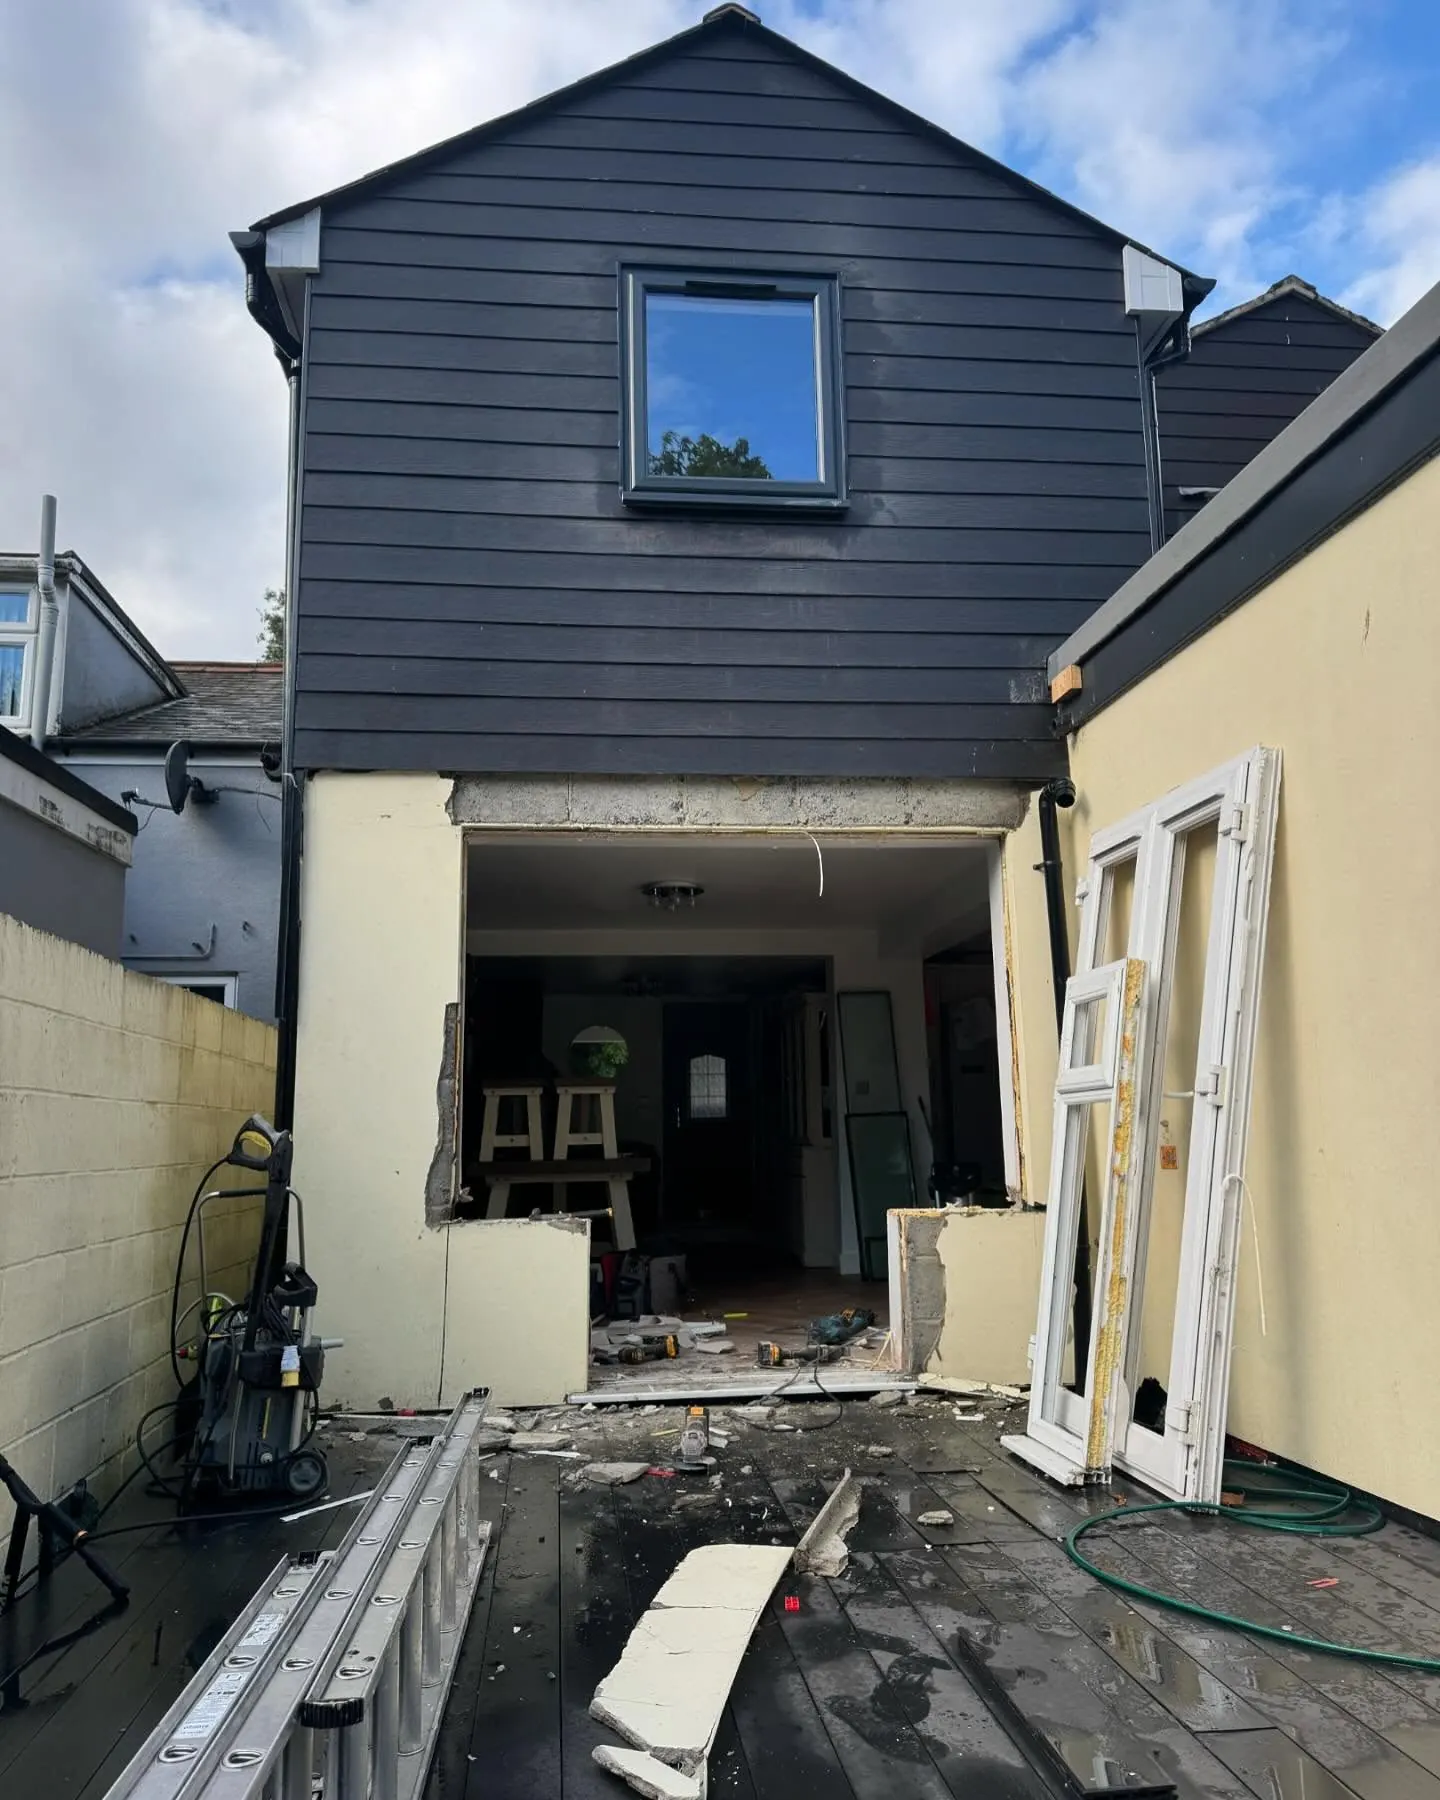 During
Finished
During
Finished

Foundations, Essex clay, and the footing next door that is far shallower
You are digging deep, right alongside something shallow, in ground that moves.
The ground around Colchester is largely shrinkable clay. It swells as it takes water and shrinks as it dries, and near the surface that seasonal movement is significant. Found inside that zone and the extension moves while the house does not, so it cracks away at the junction, usually in the second or third summer. The answer is to found below the zone, typically around 900mm on an open site with no trees nearby.
Here is the part specific to infills. Older houses often sit on footings 450 to 600mm down, sometimes less. Your new foundation has to go deeper and runs immediately alongside, sometimes within a few hundred millimetres. Dig a continuous open trench beside a shallow footing in wet clay and you undermine the house you are meant to be extending.
So it is dug in short bays, each concreted before the next is opened, with the sequence on the drawing rather than decided by whoever is on the digger. Where the existing footing is very shallow or very poor, the new foundation is stepped or locally deepened, and occasionally the old one is underpinned in bays first. That is a real cost, and it is found by digging a trial hole rather than by looking at the house.
Trees change the numbers again. Species, mature height and distance set the depth, and an oak, poplar or willow within influencing distance can take you to two and a half metres or into piles with a suspended slab. Taking the tree out does not solve it: ground dried by roots for decades takes that water back and swells, and heave acts upwards and does more damage than settlement.
Access makes the same hole cost more. On a side return the gap is often too narrow for a machine, so the dig is by hand, the spoil goes out by barrow through the house, and concrete arrives by pump rather than off the wagon. Ask anyone pricing your infill what depth they have allowed, how the muck is coming out, and what happens if the trial hole says deeper. A vague answer is not a price.
Drainage, because the infill is sitting on the drain run
On almost every infill the drains are in the way, and that is not bad luck. It is where drains go.
Foul drainage leaves the back of the house, runs along it to a manhole and out to the sewer. Its route is the side alley or the corner behind the outrigger, which is exactly the ground you want to build on. Expect a soil vent pipe on the outrigger wall, a gully or two, a rest bend at the foot of the stack and an inspection chamber inside the new footprint.
None of that stops the job, but it has to be designed. A foundation cannot bear onto a drain, so where the trench crosses the pipe it is bridged with a lintel and a clear gap left around the pipe, or the pipe is diverted and rebuilt with proper falls and access. A manhole inside the footprint is either moved or fitted with a sealed double sealed cover, and access is maintained rather than plastered over.
If the drain is a public sewer, which since 2011 includes many shared drains people still think of as private, and you are building over it or within three metres, you need a build over agreement from Anglian Water. It can call for a CCTV survey, a foundation that bridges rather than loads, or a diversion. We start it early, because it is the item most likely to hold up a start date.
Surface water is the other half. Filling the gap removes ground that was soaking up rain and adds a roof, and the outrigger’s downpipe and gully are usually inside the new footprint. Soakaways work poorly in clay, so where the run off goes is designed rather than hoped for.
Five things you can check yourself.
Trust on a building job should be verifiable, not asserted. Every one of these can be confirmed without taking our word for it.
-
01
Real company
Essex Probuild Ltd, company 15979928, registered in West Bergholt. Checkable on Companies House in a minute.
-
02
Real cover
£2m public liability cover in place. Evidence available on request rather than a badge on a website.
-
03
Real reviews
4.6 out of 5 on Google from 10 reviews, shown as they were left. We do not curate them.
-
04
Real photographs
Every project image on this site is a job we built. No stock, and no fabricated before shots.
-
05
Real accountability
We notify Colchester City Council Building Control and manage the inspections through to your completion certificate.
Roof junctions, valleys, and where infills leak
If an infill fails, it fails at the roof, and almost always at a junction with an existing wall.
An infill roof does not stand alone. It runs into the main roof, the outrigger roof, or both, and abuts existing walls on two or three sides. Every abutment is a place water can track in, and unlike a rear extension the failure often shows up inside the old house rather than the new room.
The critical detail is the cavity tray. Where the new roof meets an existing cavity wall, rain running down the outer leaf has to be caught above the abutment and thrown back out, or it crosses the cavity and appears on the inside face above the new ceiling. On an infill the tray usually steps up two different walls at two different levels and turns a corner. It is fiddly, it is buried within a day of being built, and it is the most common thing we are called to find in someone else’s work.
The valley is the other one. Where an infill roof meets a pitched outrigger roof, water off both slopes funnels into one narrow channel, often finishing over a boundary. Valleys concentrate water and they concentrate leaves. They want proper lead or a designed valley system, a decent gutter and enough fall.
Most infills end up flat roofed, because eaves height near a boundary is capped and a pitch would foul the first floor windows. On a bungalow only the height cap applies. Flat is fine, done properly: laid to a fall, finished in single ply or GRP, and built as a warm deck with the insulation above the structural deck. A cold deck relies on ventilating the void above the insulation, and on a small roof enclosed on three sides there is nowhere for that air to come from or go to. Cold decks on infills rot. We build warm decks.
Light, and why it has to come from overhead
An infill is enclosed on three sides by definition. Vertical glazing at the open end does very little.
A side return has your outrigger on one side and a boundary wall a metre or two away on the other. Glass at the garden end lights the last two metres and nothing else, so the far end of the new floor and the old room it opens into get almost none of it. That is geometry, not taste.
Light in an infill comes from above. A run of rooflights along the boundary side, a lantern, or a glazed roof section delivers substantially more usable daylight than a vertical window of the same area, and puts it in the middle of the plan where it is needed.
There is a second reason, less obvious. When you infill, the old outrigger wall becomes an internal wall and its windows look into a room rather than outside, so the kitchen behind it loses daylight the day you roof over the gap. Unless light is brought in over that line, an infill can leave the room it was meant to serve darker than before. Rooflights over what used to be the outside wall are the fix, and they belong in the design from the start.
Part L caps the area of windows, doors and rooflights against the floor area of the extension, with an allowance for the openings you are covering over. A small floor wanting a lot of glass in its roof reaches that cap early. Exceeding it means compensating with better fabric or better glazing and demonstrating it, which is a cost rather than a free choice. Overheating is worth designing against, and a small glass roofed room facing south west heats up faster than a large one. Approved Document O covers new dwellings rather than extensions, so this is good practice rather than a regulation.
What might it cost?
A realistic range rather than a single number, with what it excludes shown as prominently as what it includes.
£44k to £60k
- VAT
- Kitchen and appliances
- Flooring
- Decoration
- Drawings and calculations
- Planning and Building Control fees
- Party wall surveyor
- Service diversions
Indicative only. The biggest variable around Colchester is foundation depth, because most of the ground is shrinkable clay and mature trees are common. We price the job after seeing it.
Get a real price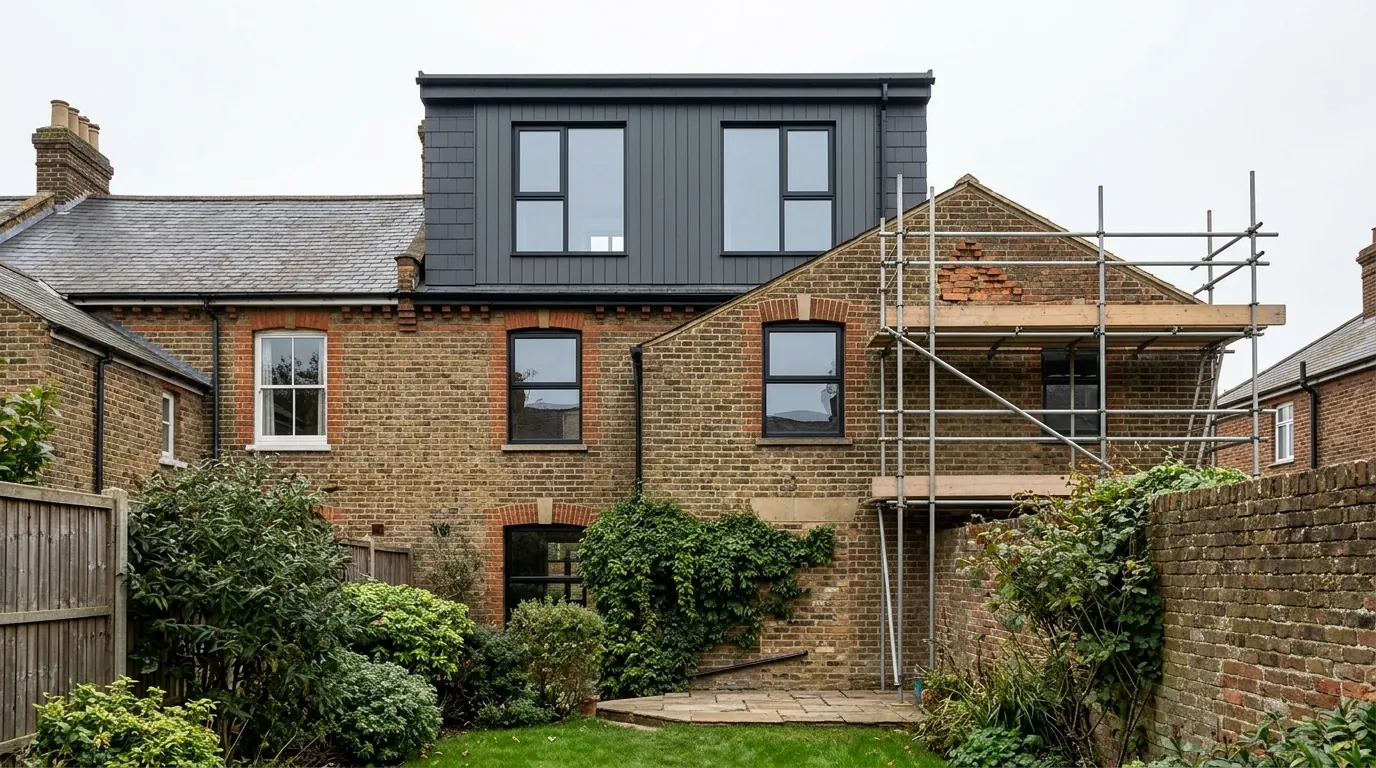
Building Regulations on an infill
Separate from planning, and the part that decides whether the room still works in ten years.
Planning decides whether you may build. Building Regulations decide how. Permitted development work still needs Building Regulations approval, and being small changes nothing.
The Approved Documents in play are A for structure including any opening into the house, B for fire safety and escape, C for damp and the cavity trays above, F for ventilation which matters in a room with one external wall, H for drainage and the build over position, K for guarding and safety glazing, L for insulation and glazed area. Part B is worth a thought on the L-shaped version, because filling a notch can put a new roof directly beneath a bedroom window that was somebody’s escape window.
There are two routes. Full plans means the drawings and calculations are checked before you start and you get a decision notice. A building notice means you tell the council you are starting and they inspect as you go. On an infill, where the foundation sequence beside a shallow footing and the tray details at two abutments are the whole job, full plans is the sensible route and it is the one we use.
We notify Colchester City Council Building Control, book the inspections and hold the work open at the right stages. At the end you get a completion certificate, which belongs with your deeds.
What an infill extension costs
Ranges with their basis stated, because a small area makes the rate misleading.
Costs move with materials, labour and specification, so treat this as indicative at the review date at the foot of this page rather than as a quotation.
As a broad guide, an infill on reasonable ground with workable access typically runs £2,400 to £3,200 per square metre for the shell and a standard finish. That is above the rate for a plain rear extension, for the reasons already given: fixed costs do not shrink with the floor area, the junction count is high, and the access is usually poor.
That range normally includes groundworks and foundations to the specified depth, drainage alterations within the site, structure and any steel, the roof and its abutment details, rooflights, windows and external doors, plastering, first and second fix carpentry, electrics and plumbing to a standard specification, and making good where new meets old.
It normally excludes, and you should budget separately for: VAT, kitchen units and appliances, flooring, decoration, drawings and calculations, planning and Building Control fees, the Anglian Water application, party wall surveyor fees if a neighbour dissents, service diversions, and anything genuinely unforeseeable once the ground is open.
The variables that move the number most, roughly in order, are the drain position, the depth of the footings you are digging alongside, access, the amount of overhead glazing and whether the boundary wall is yours. On a six square metre job, any one of them shifts the total by more than the floor finish will.
Get a real number, not a range.
We come out, look at the ground, the access and the structure, and price the job we have actually seen. The survey and the quotation are free.

How long it takes
The paperwork runs longer than people expect and the site time is shorter.
Before anything starts, a householder planning application has a statutory determination period of eight weeks from validation, and a Lawful Development Certificate runs to something similar. Building Regulations full plans approval runs alongside, and the build over agreement has its own timetable. Party wall notices run one or two months depending on the section, and those periods are fixed in law.
They overlap and we run them in parallel, but the front end is realistically two to three months, longer if the drain survey turns something up.
On site, a straightforward infill is commonly six to ten weeks from breaking ground to completion. The dig and the drainage are the slow part and the messy part, and they come first. Once the roof is on and the abutments are sealed it moves quickly, because there is not much floor to finish. Bayed foundations take longer than the trench length suggests, and a narrow trench in clay fills with water, so a wet February moves a programme.
Which Colchester houses tend to have an infill in them
Certain house shapes almost always have a gap, and once you know the shapes you see them everywhere.
Victorian and Edwardian terraces and semis with a rear outrigger are the obvious ones, and Colchester has a great many in New Town and the streets off the older approaches to the city centre. The alley beside the back wing is the standard side return, and it usually rescues a narrow galley kitchen.
Interwar and 1930s semis in Lexden, Prettygate and along the older arterial roads often have a small rear projection holding the original kitchen, with a gap beside it running to the side boundary. The plots are wider, so these frequently produce an L-shaped infill and a modest side element in one go. A detached plot gives more room again.
Post-war and later estate housing at Highwoods, Greenstead, Stanway and Mile End arrives at an infill differently. The house was built as a rectangle, someone extended part of the back in the 1980s or 1990s, and the corner they left is the gap. These are the ones where planning history matters most, because that earlier extension has already spent part of the depth and may have removed permitted development by condition. Village property around West Bergholt, Great Horkesley, Wivenhoe and out towards Dedham covers the whole range, with conservation areas and listed buildings in the mix.
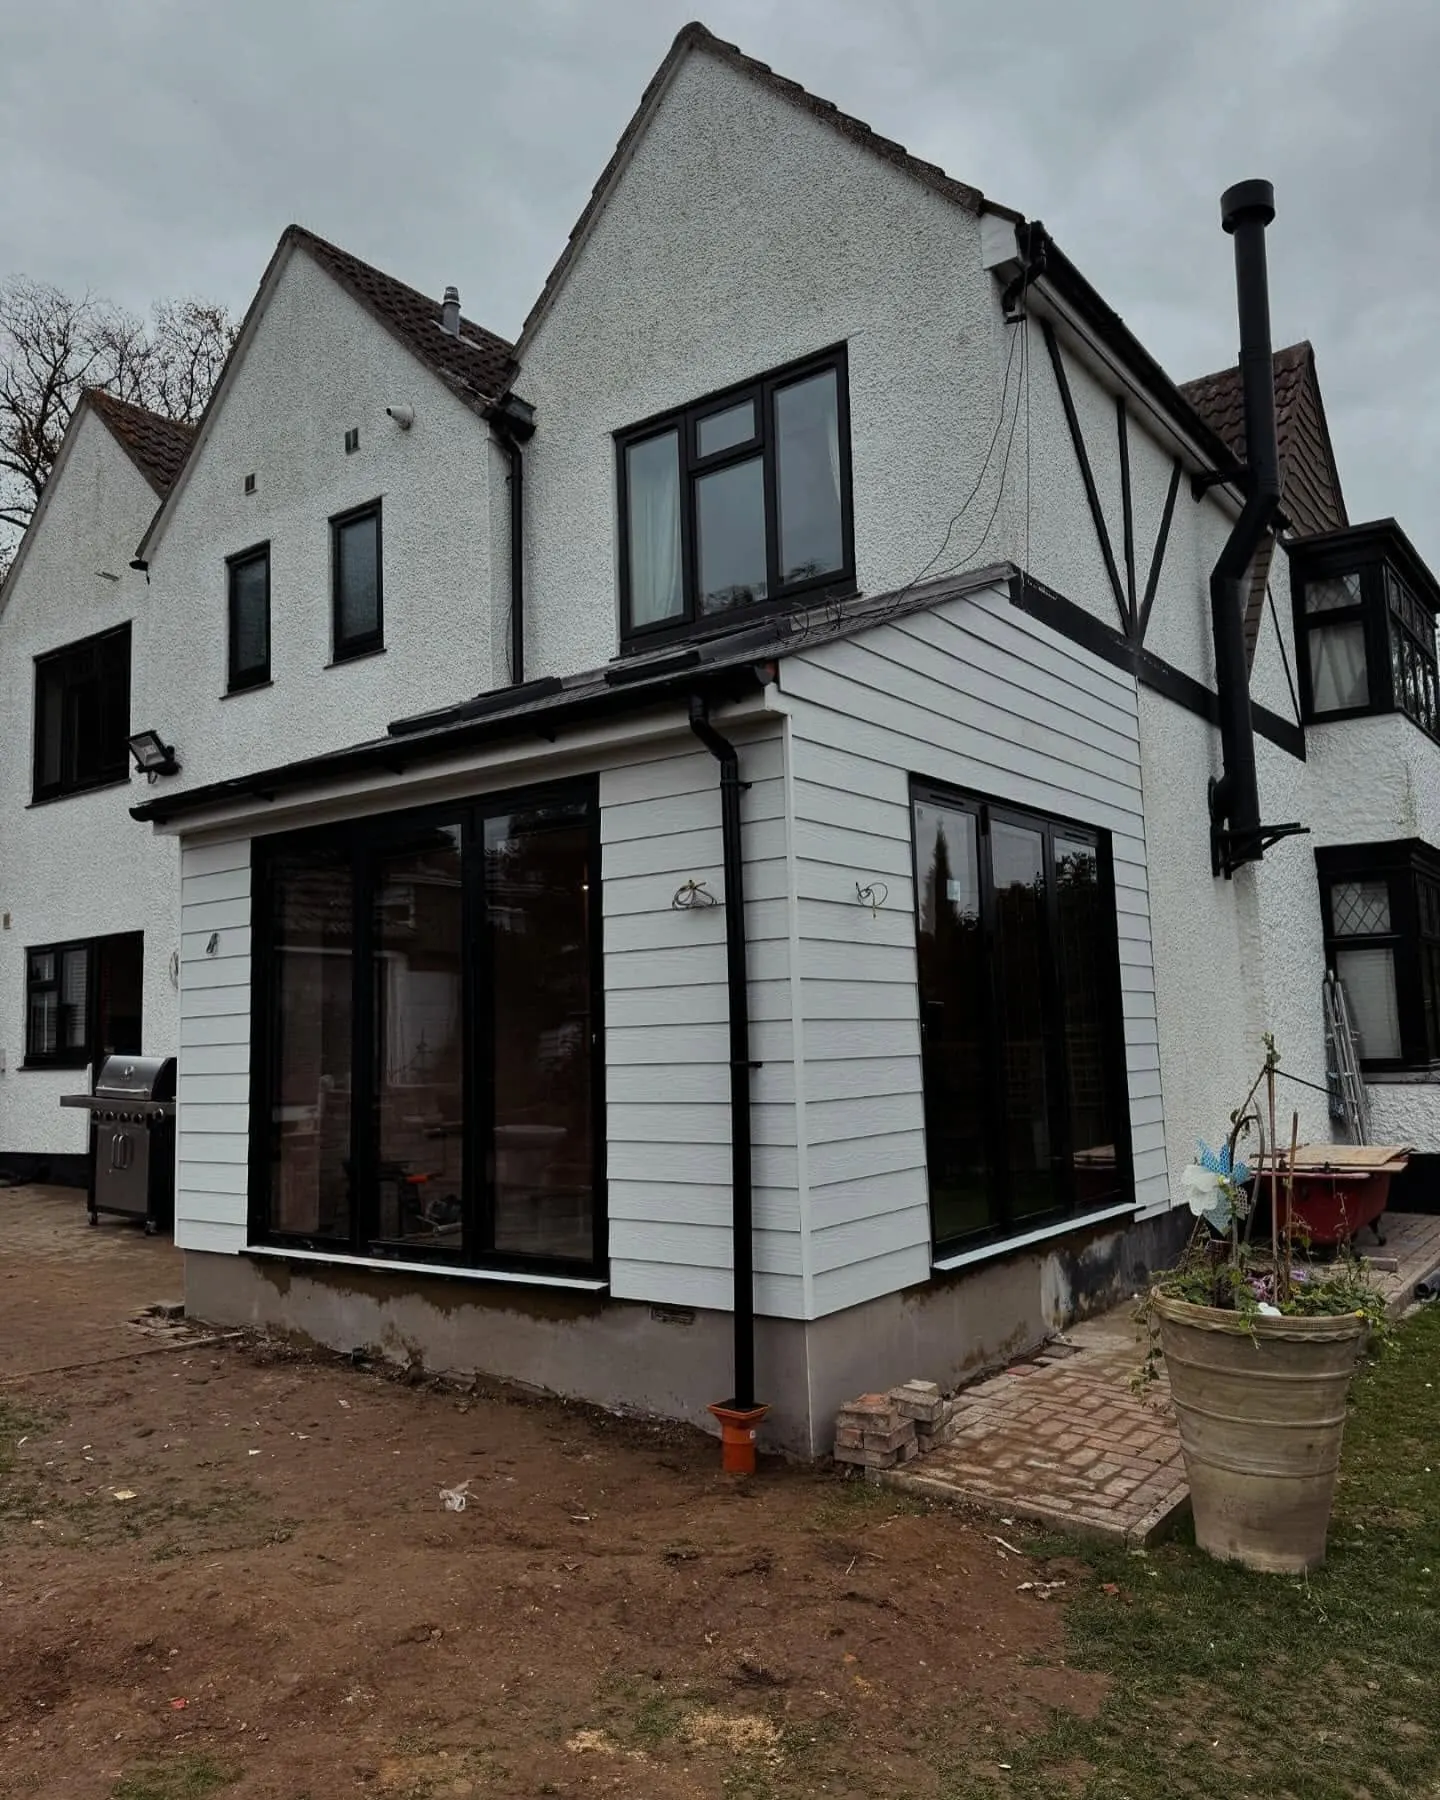
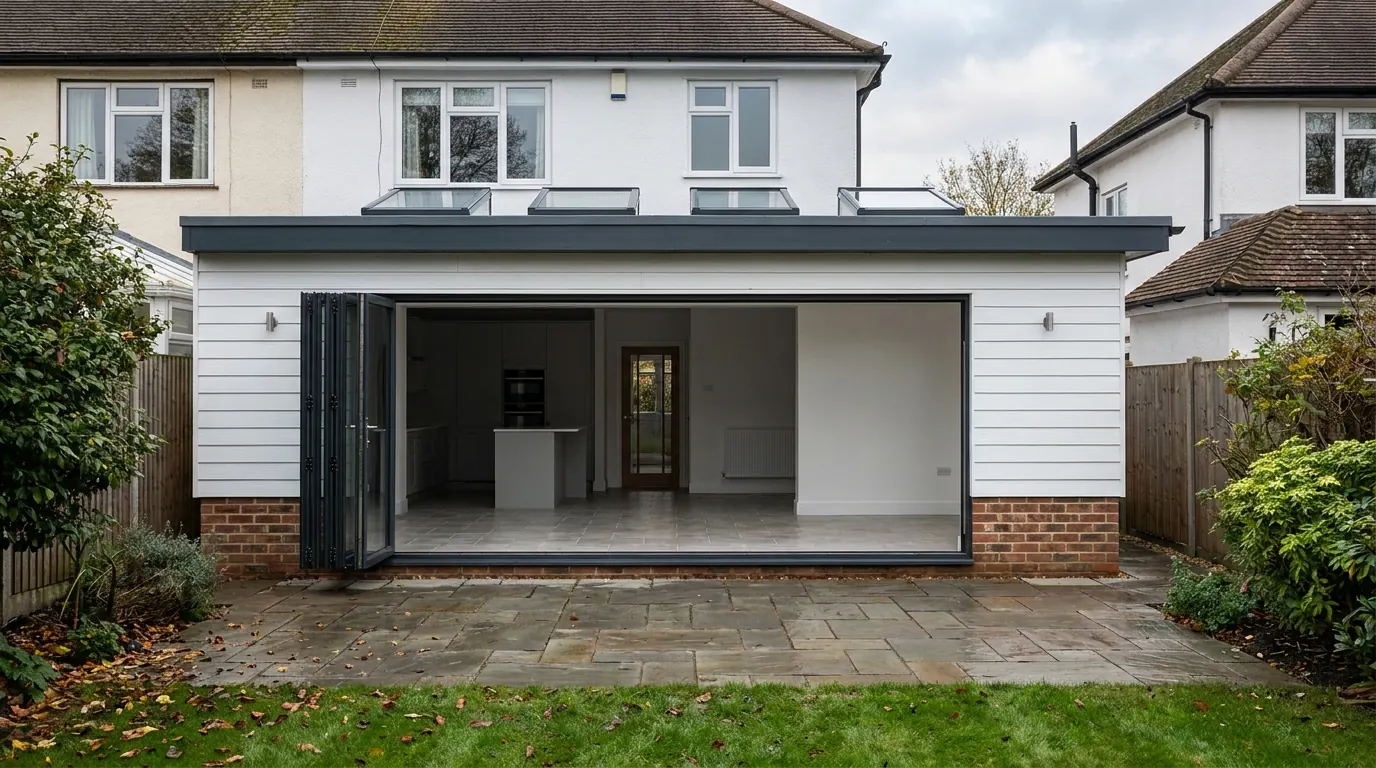
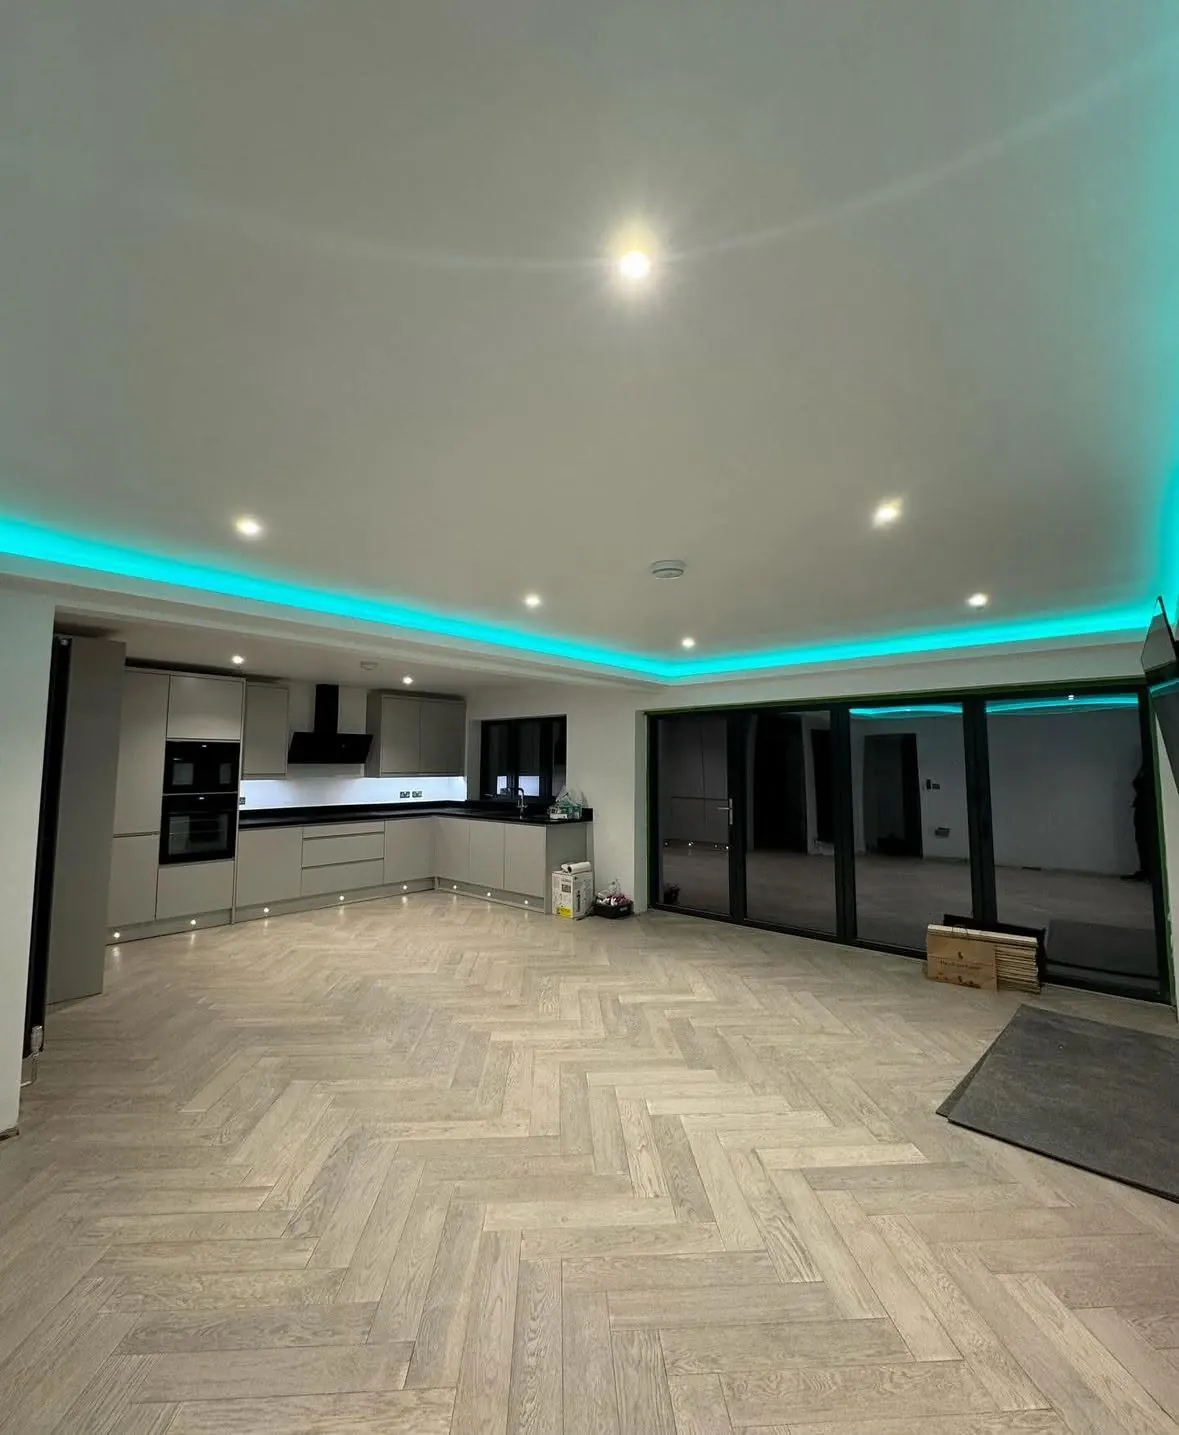 Fig. 01
What actually happens, in order
Three of these eight stages happen before anybody digs anything. Get the order wrong and you pay to redo work.
-
Survey
We look at the ground, the trees, the access, the existing structure and where the drains actually run.
-
Drawings
A technician produces existing and proposed plans and elevations to a standard the council will accept.
-
Permissions
Permitted development, prior approval or a full application. We submit it and handle the correspondence.
-
Structure
The engineer calculates the beams, the padstones and the foundation depth for your ground.
-
Groundworks
Dig, concrete and drainage. The messiest phase and the one that decides whether the rest stands still.
-
Structure up
Walls, steel into the opening, roof on, windows and doors in. The day the back wall comes out is planned with you.
-
Fit out
First fix, plaster, second fix. From here it stops being a building site and starts being a room.
-
Certificate
Final inspection and your Building Control completion certificate. Keep it with the deeds.
Questions we get asked
Is an infill cheaper than just extending out the back?
In total, almost always, because there is far less of it. Per square metre, no, it is usually dearer. The better question is what each option does to the plan. If the problem is a narrow kitchen, an infill fixes it and a deeper rear extension does not, because it only makes the same narrow room longer. If you need another room, going out the back gives you more floor for your money. Plenty of jobs do both at once, which costs less than doing them five years apart.
Will I lose access to the back garden?
On a terrace or semi where the side alley is the only route from front to back, yes, permanently. Afterwards, bikes, bins, garden waste and any future building materials come through the house. Some plots keep a route by leaving a covered passage at the end, which costs floor area. There is no clever answer, only a decision made with your eyes open rather than discovered at first fix.
What if the earlier extension was never approved?
It happens more than you would think, and it is a problem to solve rather than a disaster. There are time limits after which the council can no longer take enforcement action against a breach of planning control, and those limits changed recently, so the position gets checked against current law rather than assumed. Missing Building Regulations approval is separate, usually dealt with by a regularisation application or an indemnity policy at sale. What we will not do is build off the back of something unlawful without telling you first.
The boundary wall is my neighbour’s. Does that stop me?
No, but it changes the detailing and it brings the Party Wall Act in as a certainty rather than a possibility. You cannot build off their wall, cut into it or hang your roof on it without the right notices and agreement. The usual answer is to build your own wall just inside your line, losing a little width, or to serve notice and work to an agreed detail. Either way the wall is surveyed first, because an old boundary wall on a shallow footing is not something to lean a roof against.
How we do it
One contract, one contact, and the paperwork is our problem.
Our team has 25+ years in the trade and comes out. The first visit is a survey rather than a sales call. On an infill that means lifting the manhole cover, seeing where the drains actually run, checking the depth of the existing footings where we can, working out how the muck gets out, and pulling the planning history before anyone draws a line.
Most people who call us already have drawings and permission and want a builder to price the work and build it. That is the ordinary job here, and we are glad to work to somebody else’s plans. Where the drawings do not exist yet, we bring in the technician who draws it and the structural engineer who calculates it, we handle the planning route or the Lawful Development Certificate, we make the build over application where one is needed, we notify Colchester City Council Building Control, and we run the trades as main contractor.
Probuild Extensions Colchester is the extensions arm of Essex Probuild Ltd, company 15979928. We carry £2m public liability cover, we are based in West Bergholt about three miles north west of the city, and we work across Colchester and roughly thirty miles around. The survey and the quotation cost nothing and there is no pressure afterwards.
Last reviewed August 2026. Planning rules and Building Regulations change, and your property may differ, so treat this as a guide rather than advice on your specific job.